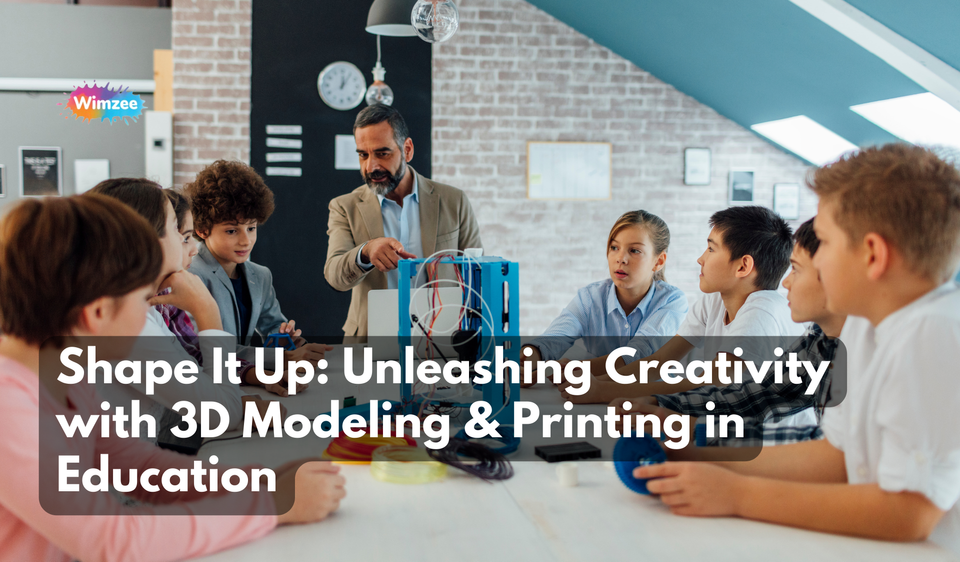
Hey there, creative souls and future educators! Welcome to 'Shape It Up,' your new go-to spot for integrating the cool, crafty world of 3D modeling and printing into learning environments. Whether you're teaching tots or tweens, this blog is packed with easy-to-follow guides, inspiring classroom project ideas, and real-life stories from educators who are making a big impact with small creations. Get ready to explore how this awesome tech can boost creativity, problem-solving skills, and a whole lot of fun in educational settings. Let's make learning exciting and hands-on—one layer at a time!
Why 3D Printing Rocks in Education
3D printing is like a magic wand for classrooms. It transforms abstract ideas into tangible objects, making learning both fun and interactive. Here are some reasons why this technology is a game-changer in education.
Enhancing Creativity and Imagination
3D printing sparks creativity by allowing students to design and create their own models. Instead of just reading about ancient artifacts, kids can print replicas to study. This hands-on approach turns passive learning into active discovery. Jane Smith, an elementary school teacher, shared, "My students are more engaged when they can touch and see what we're learning about. It’s like bringing history to life right in the classroom."
Boosting Engagement
Kids are naturally curious, and 3D printing taps into that curiosity. It’s one thing to learn about geometry; it's another to print out 3D shapes and understand their properties first-hand. This tech keeps students interested and eager to participate. According to a study from the University of Illinois, students who used 3D printers in math classes showed a 32% increase in engagement compared to traditional teaching methods.
Hands-on Learning
3D printing turns theoretical concepts into practical applications. It’s particularly powerful in subjects like science and engineering, where students can print out parts for experiments or build prototypes of their designs. Mr. Alvarez, a high school physics teacher, noted, "3D printing allows my students to experiment and learn from their mistakes without the fear of failure. They can redesign and reprint until they get it right."
Real-World Problem Solving
Using 3D printers, students can tackle real-world problems. For instance, they can design and print tools or devices that address community needs. This not only builds problem-solving skills but also instills a sense of social responsibility. In one project, students at a middle school in Ohio created custom prosthetic limbs for local veterans, blending empathy with engineering.
Empowering All Students
3D printing can be a great equalizer in the classroom. It allows students of all learning styles to excel. Visual and kinesthetic learners, in particular, benefit from the ability to physically manipulate their learning materials. It also opens up opportunities for students with disabilities, providing custom learning aids tailored to their specific needs.
Quotes from Educators
Hearing directly from teachers can highlight the real-world impact of 3D printing in education:
- "Seeing my students light up when they create something with their own hands is priceless," says Lisa Turner, a middle school art teacher.
- "3D printing has transformed my classroom into a hub of innovation. The kids are always excited to come to class and see what we’re printing next," shares Mr. Daniels, a tech teacher.
By integrating 3D printing into education, we’re not just teaching kids about technology; we’re empowering them to be creators, innovators, and problem-solvers. This tech is shaping a future where learning is dynamic, engaging, and, most importantly, fun.
Getting Started: Essential Tools and Software
Diving into 3D printing in the classroom is easier than you might think. With the right tools and software, you can turn your classroom into a mini innovation hub. Here's a quick guide to get you started.
Popular 3D Printing Tools and Software for Beginners
Starting with user-friendly tools is crucial. Here are some top picks:
Tinkercad
Tinkercad is a fantastic, web-based 3D design and modeling tool that's free and super intuitive. Perfect for beginners, it allows students to create models with a simple drag-and-drop interface. No downloads are required, making it ideal for classrooms with varying tech resources (Tinkercad).
Ultimaker Cura
Cura is one of the most widely used slicing software. It's free, open-source, and incredibly powerful. Designed by Ultimaker, it’s compatible with many 3D printers and offers customizable settings for both beginners and advanced users. Cura transforms your 3D models into printer-friendly files with ease (All3DP) (UltiMaker).
MakerBot Print
MakerBot Print is another excellent tool designed specifically for educational environments. It integrates seamlessly with MakerBot printers, providing a streamlined experience from design to print. It’s packed with features that support a range of classroom projects (UltiMaker).
Quick-Start Guide for Setting Up a 3D Printer in the Classroom
Getting your 3D printer up and running is a straightforward process. Here’s a step-by-step guide:
- Choose Your Printer and Software: Decide on a 3D printer that suits your classroom needs. Popular choices include the MakerBot Sketch Classroom and Ultimaker S3, both known for their reliability and ease of use in educational settings (UltiMaker).
- Set Up the Printer: Follow the manufacturer’s instructions to assemble your printer. Most modern 3D printers come pre-assembled or require minimal setup.
- Install the Software: Download and install your preferred slicing software (e.g., Cura or MakerBot Print). These programs will help you prepare 3D models for printing.
- Calibrate the Printer: Calibration is crucial for accurate printing. Use the software to guide you through leveling the print bed and setting the correct nozzle height.
- Load the Filament: Insert the filament (usually PLA for educational purposes) into the printer. Ensure it feeds correctly and check for any jams.
- Prepare Your First Print: Start with a simple project. Use Tinkercad to design a basic model, then slice it using Cura or MakerBot Print. Transfer the file to your printer and start printing.
- Monitor the Print: Keep an eye on the first few layers to ensure everything is sticking correctly. Adjust if necessary.
User-Friendly Software Highlights
Tinkercad: Perfect for beginners, Tinkercad’s simplicity and ease of use make it a go-to for classrooms. It's web-based, meaning students can access it from any device with internet connectivity (Tinkercad).
Ultimaker Cura: Known for its flexibility, Cura is great for both novices and experts. It offers a range of settings from basic to advanced, ensuring a smooth start for any classroom project (All3DP).
MakerBot Print: This software is designed to be educational-friendly, integrating well with MakerBot printers and offering extensive support for classroom activities (UltiMaker).
By integrating these tools into your classroom, you'll be setting up an engaging, hands-on learning environment that fosters creativity and innovation. Get ready to watch your students' imaginations come to life with the magic of 3D printing!
Classroom Project Ideas: Bringing Lessons to Life
Bringing 3D printing into the classroom can make lessons much more engaging and interactive. Here are some exciting project ideas that span different subjects, along with step-by-step guides and explanations of how these projects can enhance understanding and retention.
Math: Custom Geometry Tools and Models
Project Idea: Design custom geometry tools like rulers, protractors, or even geometric models.
Steps:
- Design: Students use Tinkercad to design their tools.
- Print: Print the designs using a classroom 3D printer.
- Use: Utilize the tools in geometry lessons to measure angles, lengths, and more.
Benefits: This project helps students understand geometric concepts practically. By designing and using their own tools, students grasp the importance of precision and measurement in geometry (We Are Teachers).
Science: Create Your Own Ecosystem
Project Idea: Design and print models of different ecosystems or specific organisms like insects or plants.
Steps:
- Research: Students research their chosen ecosystem or organism.
- Design: Use a CAD program to design the models.
- Print: Print the ecosystem or organism models.
- Presentation: Students present their models and explain the features and functions.
Benefits: This project integrates biology with technology, allowing students to visualize and interact with the components of ecosystems, which enhances their understanding of ecological relationships (Teach Your Kids Code) (We Are Teachers).
History: Ancient Artifacts and Historical Models
Project Idea: Print replicas of historical artifacts, like ancient coins, pottery, or even architectural models of famous landmarks.
Steps:
- Select: Choose an artifact or landmark relevant to the current history lesson.
- Design: Students design the artifact using historical references and CAD software.
- Print: Print the models and use them in history lessons.
Benefits: This project brings history to life by allowing students to handle and examine physical models of artifacts. This hands-on approach deepens their understanding of historical contexts and cultures (All3DP).
Art: Custom Paint Palettes and Sculpture
Project Idea: Create custom paint palettes or small sculptures.
Steps:
- Design: Students use 3D modeling software to create their palettes or sculptures.
- Print: Print the designs.
- Use: Use the printed palettes in art lessons or display the sculptures.
Benefits: This encourages creativity and gives students a sense of accomplishment in creating their own art tools and pieces. It’s a great way to integrate technology into art classes (We Are Teachers).
Engineering: Simple Machines and Prototypes
Project Idea: Design and print simple machines like levers, pulleys, or gears, or even prototypes of their inventions.
Steps:
- Conceptualize: Students brainstorm and sketch their ideas.
- Design: Use CAD software to create detailed designs.
- Print: Print the parts and assemble the machines or prototypes.
- Test: Test the functionality and make improvements.
Benefits: This project teaches the principles of engineering and mechanics. By prototyping and testing their designs, students learn problem-solving skills and the iterative nature of engineering design (All3DP).
Literature: Storytelling with 3D Models
Project Idea: Create 3D models of characters or scenes from a book being studied in class.
Steps:
- Read: Students read and discuss the book.
- Select: Choose a character or scene to model.
- Design: Design the models using CAD software.
- Print: Print the models and use them in presentations or displays.
Benefits: This project brings literature to life, making it more engaging and interactive. It helps students visualize the story and can enhance comprehension and retention (Teach Your Kids Code) (All3DP).
By incorporating these diverse 3D printing projects, educators can create a dynamic and interactive learning environment that not only engages students but also fosters a deeper understanding of the subject matter.